The Red Clip on a Jumper Cable is _____.
The red clip on a jumper cable is often associated with the positive terminal of a car battery. When connecting jumper cables to jump-start a vehicle, it’s crucial to correctly identify and attach the red clip to the positive terminal. This ensures a safe and efficient transfer of electrical current between the two batteries.
In most cases, the red clip is labeled with a plus sign or marked with the letter “P” for positive. It serves as an important indicator to avoid any confusion during the jump-starting process. Remember, proper polarity is essential when connecting jumper cables to prevent damage to both vehicles’ electrical systems.
Always double-check that you have securely attached the red clip to the correct terminal before attempting to start the vehicle. Following these precautions will help ensure success and protect against any potential risks or accidents while using jumper cables.
So, in conclusion, remember that the red clip on a jumper cable represents positivity and should be connected carefully to your vehicle’s positive terminal when jump-starting your car.
The red clip on a jumper cable is connected to the positive terminal of a car battery. When it comes to understanding jumper cables, knowing which clip is which is crucial for a successful jump-start.
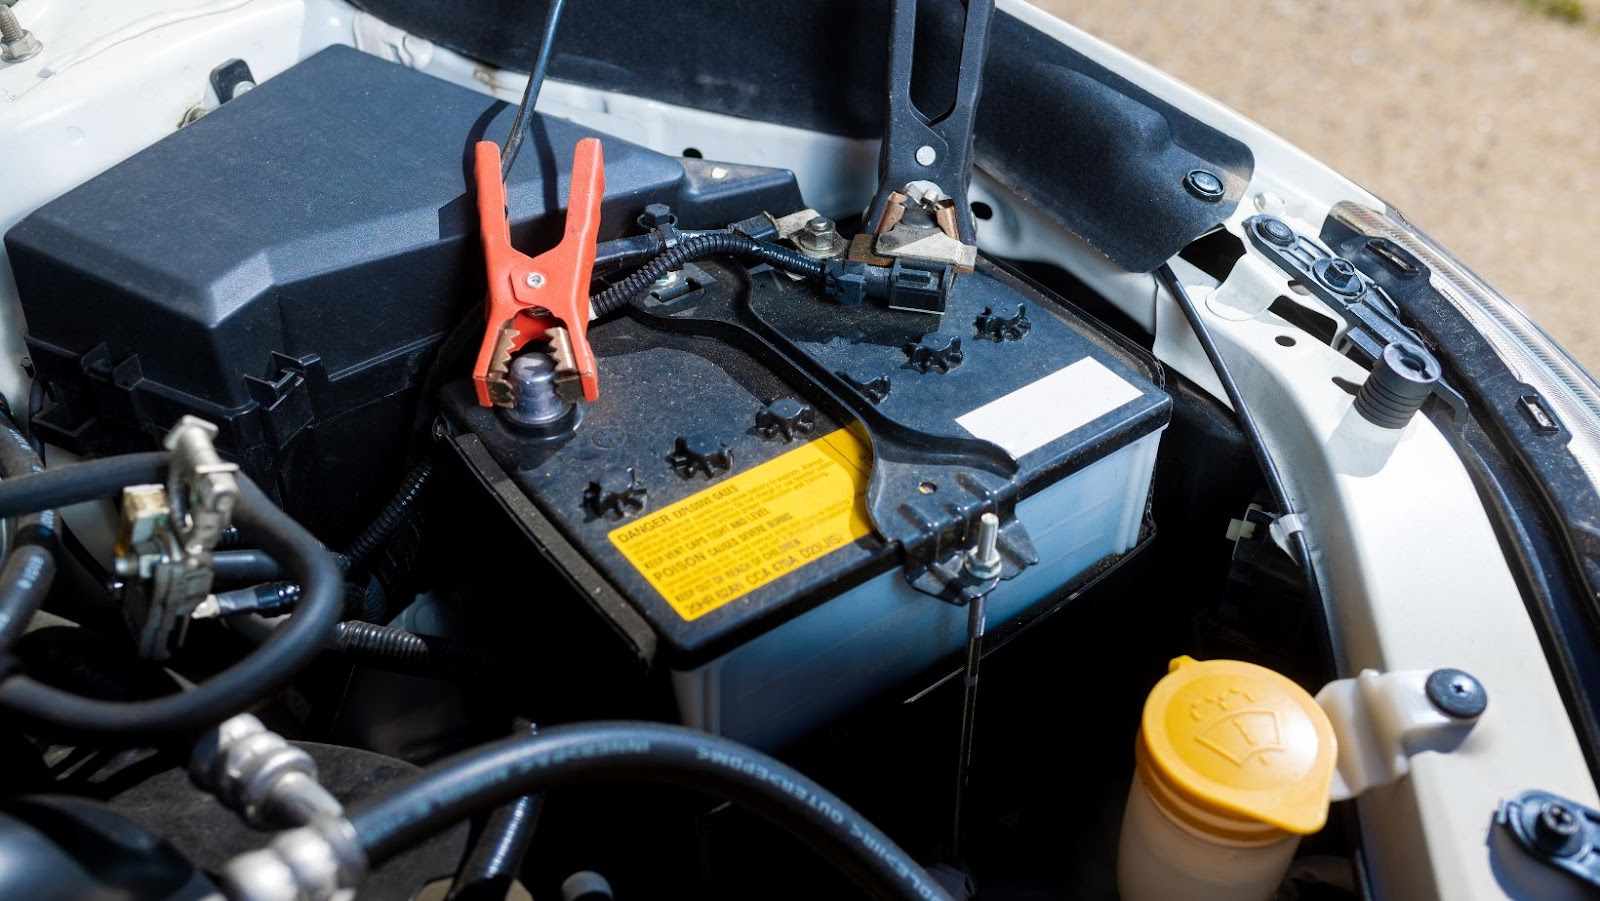
Jumper cables are an essential tool for any driver, especially in emergency situations when a vehicle’s battery dies and needs a boost. They consist of two insulated cables with alligator clips at each end. One clip is typically red, while the other is black or sometimes blue.
The red clip represents the positive side and should be attached to the positive terminal of both batteries involved in the jump-start process. The positive terminal can usually be identified by its larger size, plus sign (+) symbol, or the letters “POS” or “P” marked nearby. It’s important to ensure that this connection is secure and tight to prevent any sparks or accidents during the jump-start.
What is the Red Clip?
When it comes to jumper cables, one component that often catches our attention is the red clip. The red clip is a crucial part of a jumper cable set and serves a specific purpose in jump-starting vehicles. This small but mighty clip plays an essential role in establishing a safe and effective connection between batteries.
Importance of the Red Clip
The red clip holds significant importance when it comes to jump-starting a vehicle. Its primary function is to connect to the positive terminal of the battery, which typically has a red cover or marking. By securely attaching the red clip to this positive terminal, we establish an electrical pathway for current flow from one battery to another.
Ensuring proper connection with the red clip is vital as it allows for efficient transfer of power during jump-starts. Without this secure attachment, there can be potential risks such as sparks, overheating, or even damage to the electrical systems involved.
In addition to its functional importance, using the red clip correctly also aids in preventing reverse polarity connections. Reverse polarity occurs when we mistakenly connect positive terminals with negative ones or vice versa. The color-coded nature of jumper cables helps us easily identify and differentiate between these terminals, reducing any chances of accidental reversal.
Step-by-Step Guide for Connecting the Red Clip
- Identify the Positive Terminal: Before connecting any clip, it’s crucial to identify the positive terminal on both batteries. The positive terminal is usually marked with a “+” sign or designated by the color red.
- Attach the Red Clip: Once you’ve located the positive terminal on both batteries, attach the red clip of your jumper cable onto the positive terminal of the dead battery.
- Secure Connection: Ensure that you firmly grip the red clip onto the battery terminal to establish a solid connection.
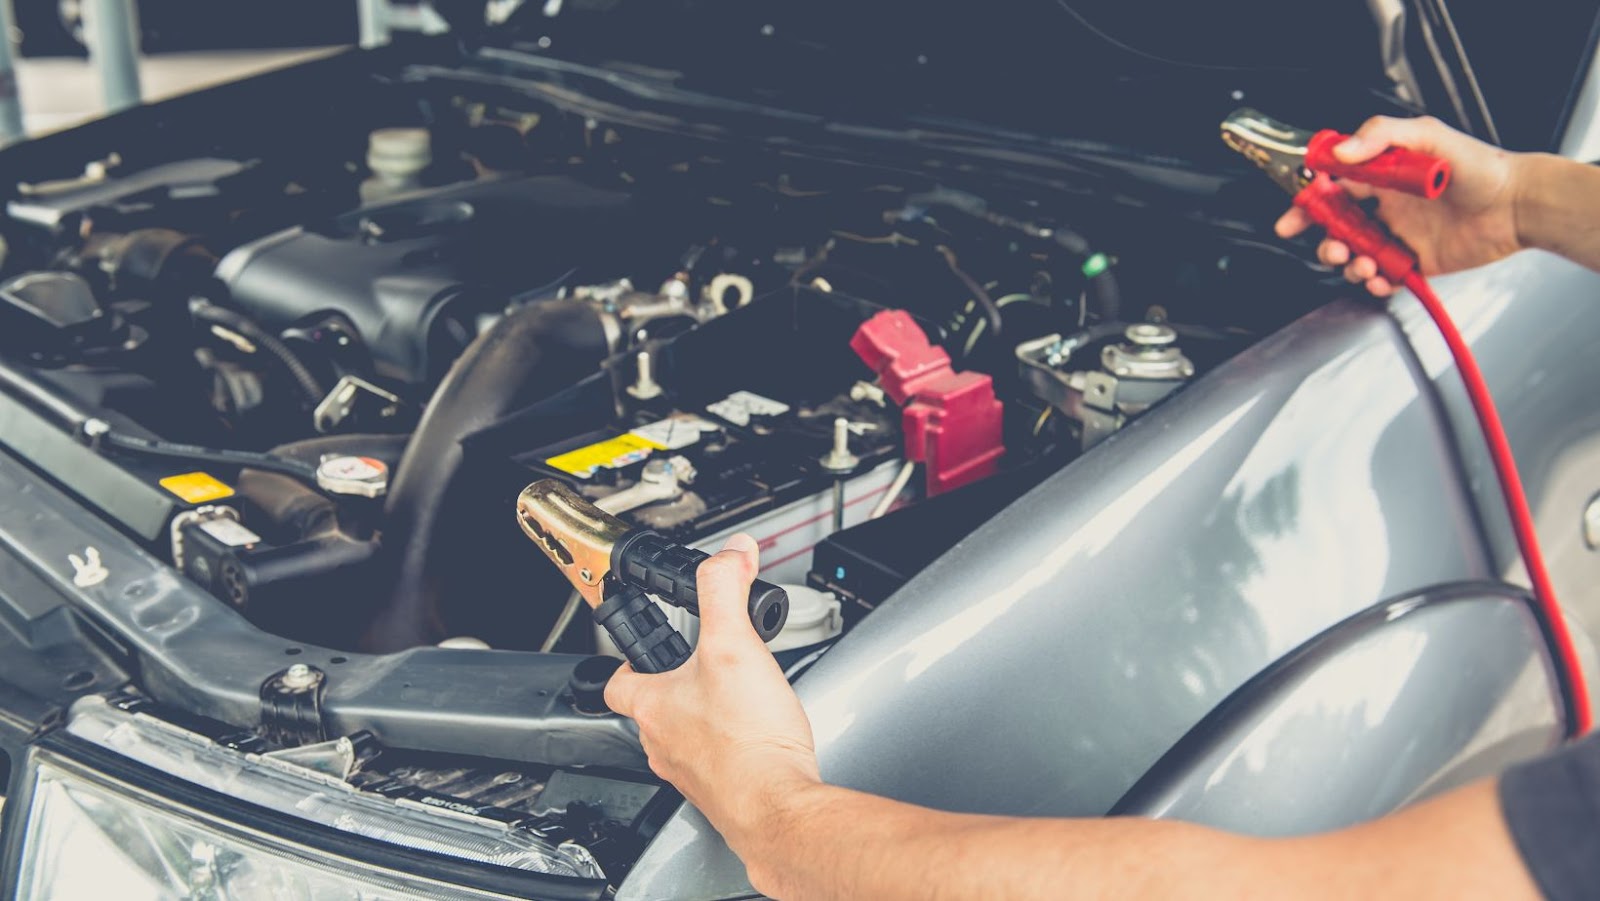
- Connect Other End: Now, take the other end of your jumper cable and attach its red clip onto the positive terminal of a working or charged battery.
- Start Vehicle: With both clips securely attached, start your vehicle with a working battery. Allow it to run for a few minutes to provide sufficient charge to revive the dead battery.
Safety Precautions when Connecting the Red Clip
- Wear Protective Gear: It’s always wise to wear protective gloves and eye goggles while handling jumper cables as they can be corroded or emit sparks during connections.
- Ensure Proper Polarity: Double-check that you connect each clip correctly – red (positive) to red (positive). Placing them incorrectly can cause damage to electrical systems in vehicles.
- Avoid Contact between Clips: Make sure that no metal objects touch both clips simultaneously as it may result in sparks or short circuits.
- Turn Off Electrical Components: Before making any connections, turn off all electrical components such as lights, radios, and air conditioning systems in both vehicles involved.
- Follow Manufacturer Guidelines: Always refer to your vehicle’s owner manual for specific instructions or precautions related to jump-starting procedures.